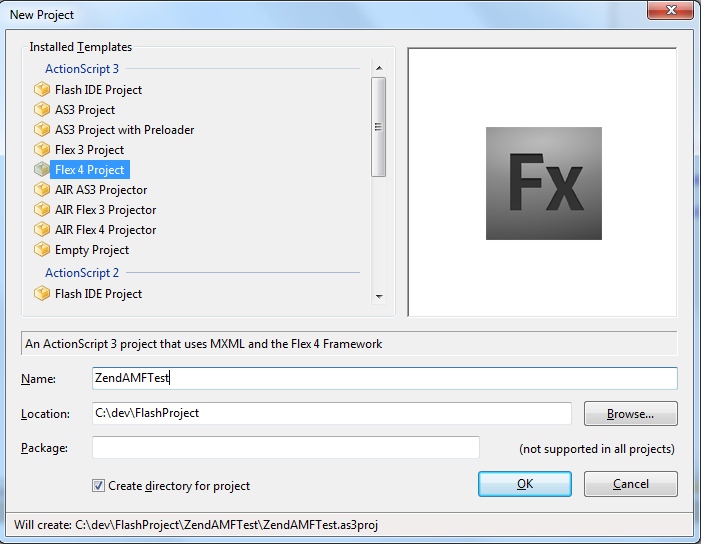
 인터넷을 아무리 돌아다녀도 Flex Builder없이 Flex 3와 PHP를 통합하는 방법에 대해 설명해 놓은 것을 찾기 어려웠는데, 아래 링크의 글을 보고 Flex Builder없이 오픈 소스인 FlashDevelop을 이용해 둘을 통합해 봤습니다.
error_reporting(E_ALL | E_STRICT); //optional
require_once “Zend/Amf/Server.php”; //the zendAMF server
require_once “test_class.php”; //our test class
$server = new Zend_Amf_Server(); //declare the server
$server->setClass(“test_class”); //load our test-class
echo($server->handle()); // needed to start the server
?>
class test_class {
public function __construct() {
//this function is needed, is the constructor of class!!
}
public function sayHello($user=NULL) {
if($user==NULL) return ‘Hello anonymous user! This is php saying hello!’;
else return ‘Hello ‘.$user.’! This is php saying hello!’;
}
}
?>
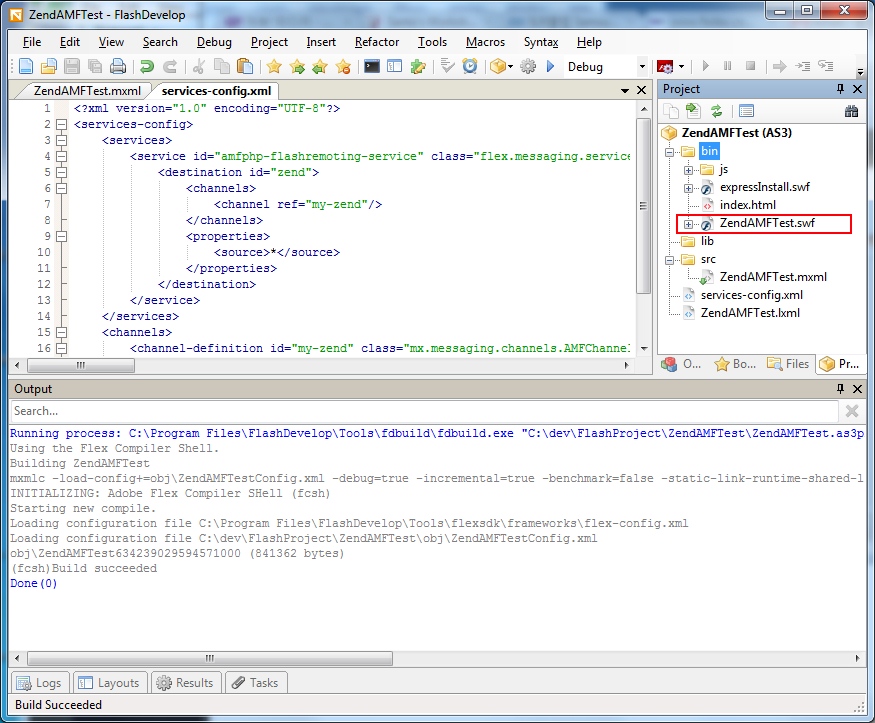
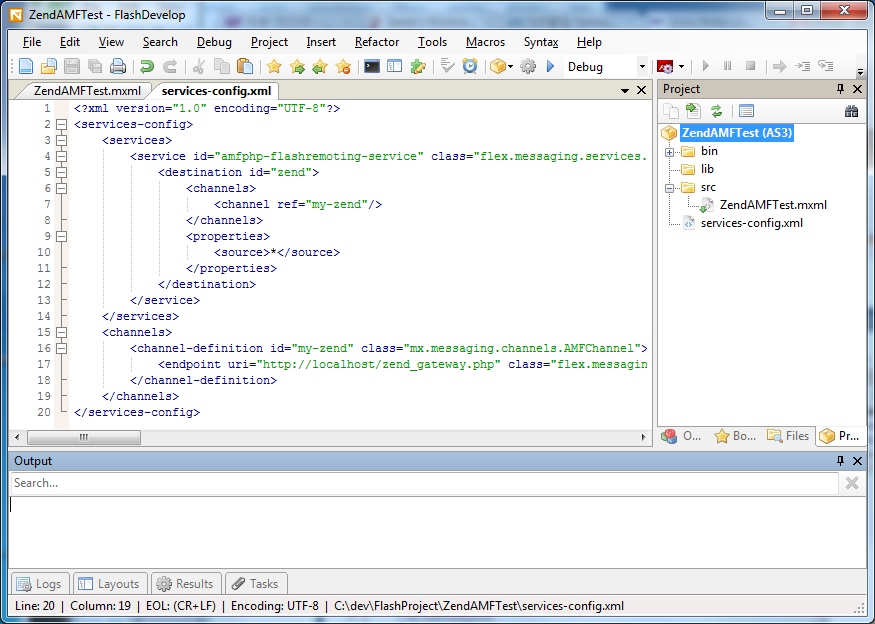
<services-config>
<services>
<service id=”amfphp-flashremoting-service” class=”flex.messaging.services.RemotingService” messageTypes=”flex.messaging.messages.RemotingMessage”>
<destination id=”zend”>
<channels>
<channel ref=”my-zend”/>
</channels>
<properties>
<source>*</source>
</properties>
</destination>
</service>
</services>
<channels>
<channel-definition id=”my-zend” class=”mx.messaging.channels.AMFChannel”>
<endpoint uri=”http://localhost/zend_gateway.php” class=”flex.messaging.endpoints.AMFEndpoint”/>
</channel-definition>
</channels>
</services-config>
<mx:Application xmlns:mx=”http://www.adobe.com/2006/mxml” layout=”absolute”>
<mx:Script>
<![CDATA[
import mx.rpc.events.FaultEvent;
import mx.rpc.events.ResultEvent;
import mx.controls.Alert;
private function onSayHelloResult(evt:ResultEvent):void {
Alert.show(evt.result.toString(),”DONE!”);
}
private function onError(err:FaultEvent):void {
Alert.show(err.message.toString(),”ERROR!”);
}
private function callZend():void {
zendAMF.sayHello.arguments.user=userName.text;
zendAMF.sayHello();
}
]]>
</mx:Script>
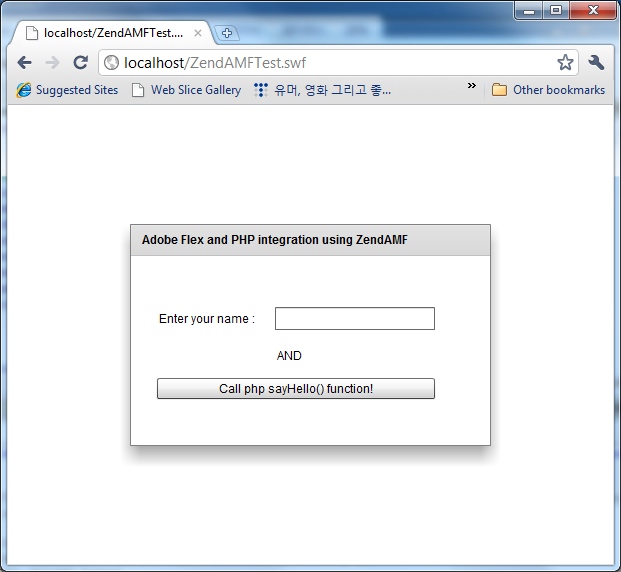
<mx:Panel width=”361″ height=”222″ layout=”absolute” title=”Adobe Flex and PHP integration using ZendAMF” horizontalCenter=”0″ verticalCenter=”0″>
<mx:Label x=”26″ y=”53″ text=”Enter your name : “/>
<mx:Label x=”144″ y=”90″ text=”AND”/>
<mx:TextInput x=”144″ y=”51″ id=”userName”/>
<mx:Button x=”26″ y=”122″ label=”Call php sayHello() function!” width=”278″ click=”callZend()”/>
</mx:Panel>
<mx:RemoteObject id=”zendAMF” destination=”zend” showBusyCursor=”true” source=”test_class”>
<mx:method name=”sayHello” result=”onSayHelloResult(event)” fault=”onError(event)”>
<mx:arguments>
<user>
{null}
</user>
</mx:arguments>
</mx:method>
</mx:RemoteObject>
</mx:Application>